Riverdale, GA · Garage Door Service
Opener Installation for Jonesboro's 1968-Era Garages
Jonesboro homes mostly date to 1968, which means older brackets and wiring built for openers that predate today's safety codes. We install from our Riverdale shop, 4 miles out.
- Repairs & new doors
- Springs & openers
- Serving 7 nearby communities
Parts We Carry
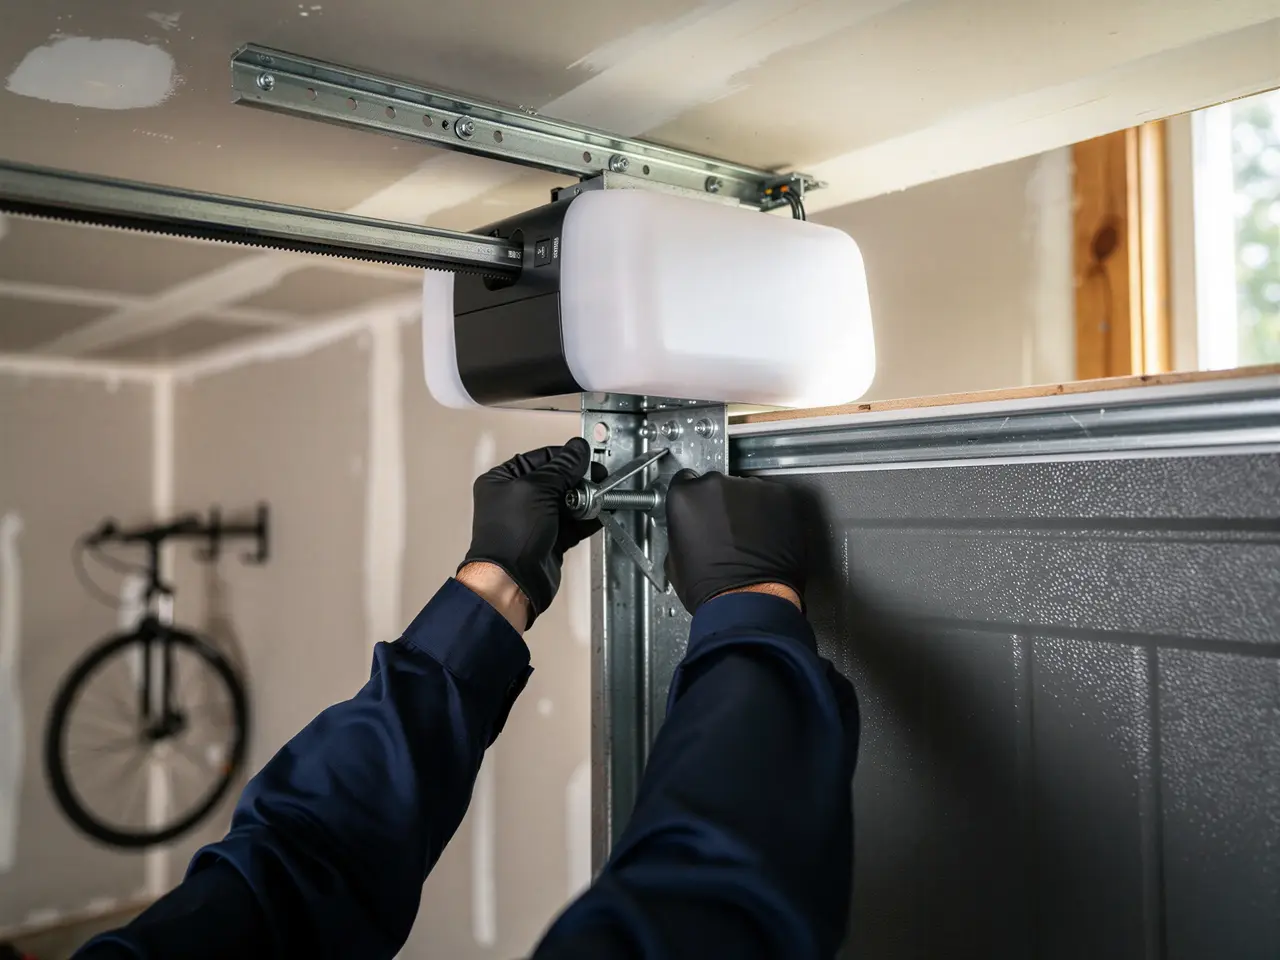
We stock the parts that actually fit what's on Jonesboro garages, not a catalog of everything. That means 1/2 HP and 3/4 HP chain-drive and belt-drive units, standard rail sections, photo-eye safety sensor pairs, wall consoles, and the wiring harness to tie a new opener into household power instead of running it off an extension cord, which we still find on some of these older setups. We carry battery backup units too, since the climate here runs cold-moderate and a dead opener during a winter cold snap is a bad night to be stuck outside. What we don't carry on the truck: smart-home hub bridges for every brand on the market. If you want a specific app ecosystem beyond basic remote and keypad control, tell us before the job so we can bring the right unit, not install one and swap it later.
We size the opener to the door, not the other way around. A single door built heavier than code called for back when these houses went up needs more than an entry-level 1/3 HP unit, and we'll tell you that on the estimate, not after it's bolted to your header.
Why This Fails Locally
Jonesboro's housing stock centers on 1968, a good decade before federal rules required photo-eye reversal sensors on residential openers. Plenty of garages here still have the original framing from that era even where the door itself has been swapped out once or twice since. That framing was built to hold a door and maybe nothing else - no dedicated opener circuit, no reinforced header for the forward mounting bracket, sometimes not even a ceiling outlet near the rail run.
With 2,012 households in Jonesboro and a median income of $50,060, we see a lot of these openers getting replaced once rather than twice - owners fixing what's actually broken instead of swapping brand new every few years. That's smart, but it means when the old unit finally gives out, the wiring and bracket situation around it is usually original too, and that's what adds time to an install that would otherwise be a straight swap. We check the header and the circuit before we quote, not after we've started drilling.
What the Repair Takes
First we pull the old unit and look at what it's bolted to. On a house from this era that's often a wood header board, sometimes with daylight showing through old anchor holes from a previous opener or a bracket that was never quite square. We reinforce that before anything new goes up - a new opener on a weak header is a callback waiting to happen.
Next is the electrical. If there's no dedicated outlet near the rail, we run one rather than leave a cord stretched across the garage ceiling. Then the rail, the opener head, the photo-eye sensors at the bottom of each track - these aren't optional, they're what keeps the door from closing on something in its path, and a lot of 1960s-era garages never had them because the code didn't exist yet. Last is the wall console, remotes, and a force-and-travel calibration so the door doesn't slam or stall.
We haul away the old unit. We don't leave it in the driveway.
The DIY Question
An opener kit from a box store looks simple until you're standing on a ladder holding 20 pounds of motor unit over your head trying to line up a bracket on a header you can't see is cracked. The mechanical part of hanging an opener isn't the hard part - it's knowing whether what you're hanging it on will hold, and on a garage this age, that's not a guess you want to make with a $300 kit still in the box.
Where DIY makes sense: swapping a remote, replacing a keypad, reprogramming a unit after a power outage. Where it doesn't: anything involving the header, the spring side of the door, or electrical work you're not licensed to do. We'll talk you through the easy stuff for free if you call. The header and wiring work is where we earn the job.
How Long It Takes
A straight swap - same mounting points, existing circuit already in place - runs about two to three hours. Add header reinforcement or new wiring, which is common on Jonesboro's older garages, and plan on closer to half a day. We come from our Riverdale shop, about four miles out, so travel isn't the bottleneck here; the bottleneck is whatever we find once the old opener comes down.
We'll give you a time range on the estimate call based on the age of your door and whether you know of any past electrical work in the garage. If we get there and find something we didn't expect - and on houses from 1968 that happens - we'll tell you before we keep going, not bill you for a surprise after the fact.
Frequently asked questions
Will my garage need new wiring for an opener?
Maybe. A lot of Jonesboro garages from the late 1960s were never wired for an opener at all, just a light fixture. If there's no outlet near where the rail will run, we add one as part of the install rather than leave a cord stretched overhead.
Do you carry openers for older garage doors?
Yes. We bring chain-drive and belt-drive units in 1/2 HP and 3/4 HP, sized to the door, not a one-size-fits-all unit. If your door is heavier than average for its age, we size up on the estimate before we schedule the job.
How far out is Riverdale from Jonesboro?
About four miles. We travel from our Riverdale location for every Jonesboro job; there's no separate branch here, so scheduling runs through the same shop that covers the rest of the service area.
Can I keep my old remote with a new opener?
Sometimes, if the frequency and brand are compatible. Most of the time we set you up with new remotes and a wall console during the install so everything's paired and calibrated together, and we'll show you how it works before we leave.
Book garage door service in Riverdale
Call now or request a quote - tell us what the door is doing and where you are.